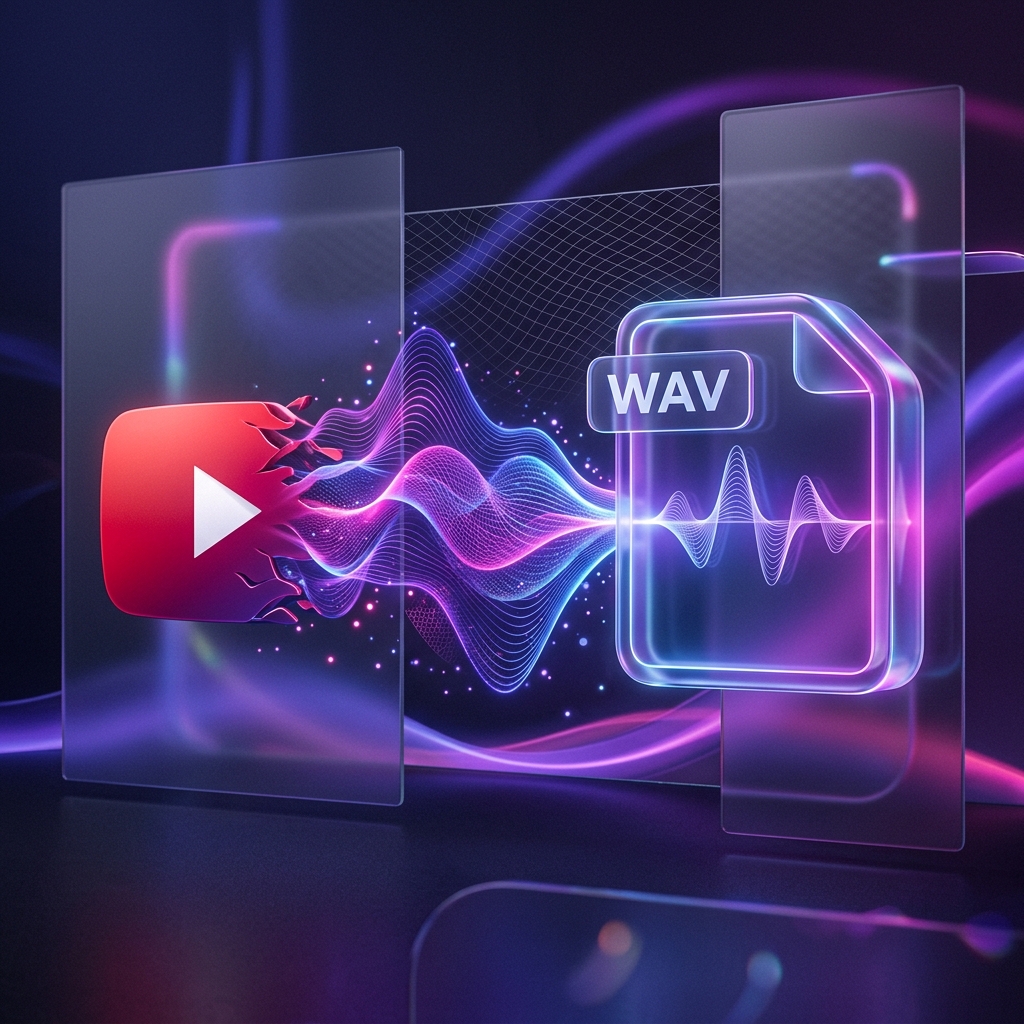
YouTube has become the default archive for audio—from obscure live sets and podcast clips to sound effects and background tracks. But if you are a sound designer, video editor, or music producer, streaming them is not enough. You need that audio offline, and you need it in WAV format. Over the years, I have tested dozens of web tools to convert YouTube to WAV. Most of them are complete garbage—loaded with popups, redirect ads, and fake download buttons that try to infect your machine.
Why WAV? While MP3s are small and convenient, they use lossy compression that throws away audio details to save space. WAV (Waveform Audio File Format) is an uncompressed, lossless format. If you plan to drop the audio into an editing timeline (like Premiere, Audacity, or Ableton), WAV is the only format that will not degrade further as you edit. Let us look at how to get the cleanest conversion without downloading malware.
The Reality Check: WAV vs. MP3 vs. AAC
Before you start converting, there is a technical limitation you must understand. You cannot create audio quality out of thin air.
YouTube compresses all uploaded audio. High-definition uploads are usually capped at 128kbps or 192kbps AAC (Advanced Audio Coding) streams. When you convert a YouTube video to a WAV file, the output file will be large (around 10MB per minute, 1411kbps), but the audio will not suddenly sound like it was recorded in a professional studio.
However, converting to WAV is still the right move. If you convert that compressed AAC audio to an MP3, you are executing "transcoding loss"—compressing already-compressed audio. Converting to WAV keeps the native compression intact without adding a second layer of sound degradation.
The Legal Realities of Audio Ripping
Let us address the elephant in the room: converting YouTube videos to local files violates YouTube's Terms of Service. They want you on the platform viewing ads.
Downloading public domain music, videos under Creative Commons licenses, or your own channel uploads.
Time-shifting content for private offline listening. While a violation of terms, it is rarely prosecuted.
Ripping copyrighted tracks to avoid paying for music subscriptions, or using the audio in commercial projects.
Online Converters (And How to Survive Them)
If you only need to convert a single track, online tools are fast. But you need to protect your browser:
- Use uBlock Origin: Do not visit these sites without a robust ad-blocker. They are packed with redirects and fake download buttons.
- Block Notifications: If a site asks to "Allow Notifications" to download, block it immediately. It will flood your desktop with spam popups.
- Verify File Extensions: When you hit download, the file should end in
.wavor.m4a. If your computer downloads a.exeor.zipfile, delete it immediately.
-
1CloudConvert
A legitimate file conversion service, not a sketchy ripping site. You paste the YouTube URL, select WAV, and edit settings like sample rate and channels. It is clean and safe, though the free tier limits you to 25 conversions a day.
-
2Y2Mate (With Caution)
Very fast, but the ad redirects are aggressive. Use a browser ad-blocker. If you edit the URL to contain "pp" after "youtube" (e.g., youtubepp.com/watch?v=...), it skips the homepage and takes you directly to the download interface.
Clean Desktop Tools
If you are converting multiple tracks or entire playlists, desktop software is much safer and more reliable.
VLC Media Player (The Hidden Feature)
VLC is best known as a video player, but it contains a built-in converter that is 100% free of adware.
- Open VLC and go to Media > Open Network Stream.
- Paste the YouTube URL and click the arrow next to the Play button, selecting Convert.
- Under Profile, create a custom profile selecting WAV container and Audio codec (PCM).
- Select your destination file and click Start. VLC will extract the audio silently in the background.
The Professional Choice: yt-dlp and FFmpeg
If you want the absolute highest quality extraction, you need to use the command line. This is what professional archivers and developers use.
yt-dlp is a command-line tool that extracts video and audio streams directly from YouTube's server. When paired with FFmpeg (a command-line audio processor), it outputs perfect WAV files.
The command is simple:
yt-dlp -x --audio-format wav "YOUR_YOUTUBE_URL"
This command downloads the best native audio stream (AAC/Opus) and converts it to WAV lossless container without touch-up compression. It is fast, completely safe, and never breaks.
My Step-by-Step Conversion Workflow
Here is the workflow I use when gathering ambient audio and sound effects for video projects:
-
1Copy the Video Link
Find the video on YouTube. Make sure the upload resolution is set to high (1080p or 4K), as YouTube sometimes serves lower quality audio on old uploads that only have 360p video options.
-
2Run the Conversion
I open my terminal and run the
yt-dlpcommand. If I am on a machine without terminal access, I use CloudConvert to keep things clean. -
3Verify the File Depth
WAV files are heavy. A 5-minute track should be around 50MB. If the file is only 4MB, the converter lied to you and just renamed an MP3 extension to .wav. Check the bit depth in your file properties.
The Upsampling Trap
Do not fall for converters promising "HD 96kHz conversions." You cannot add quality that was never there.
| Source Video Quality | Native Audio Bitrate | Ideal Output Selection |
|---|---|---|
| 240p - 360p | ~64kbps Opus | Use MP3 or M4A (saving space) |
| 480p - 720p | ~128kbps AAC | 16-bit / 44.1kHz WAV |
| 1080p+ / 4K | ~160-192kbps AAC | 16-bit / 48kHz WAV |
Frequently Asked Questions
WAV is an uncompressed audio container. It records every waveform detail, resulting in files that are roughly 10MB per minute of audio. If you want lossless quality but smaller files, look into FLAC format.
Most online video converters use shady ads and redirects to make money. Never download any installer files (.msi, .exe, or .dmg) from them. The only thing you should download is the audio file itself.
Yes. Desktop tools like 4K Video Downloader or command-line tools like yt-dlp can process a full playlist URL, downloading and converting every track sequentially.
My Final Takeaway
Converting YouTube to WAV is an essential task for content creators, but you have to do it smart. Do not trust random, ad-bloated conversion websites that put your computer at risk. Use clean utilities like CloudConvert, or take 10 minutes to learn command line tools like yt-dlp. Your editing timeline, and your computer’s security, will thank you.

Ashish Kohli
Ashish Kohli is an SEO expert and freelance writer specializing in digital marketing. With a deep understanding of search engine strategies, he helps businesses improve online visibility and boost website traffic.
Read more articles by this author